This week, the UK’s new Pound Coin entered circulation – Its biggest change in 34 years. While I do have an interest in coins, going to one of a handful of locations to clamour for one of the first in the country? Not that interested. A fancy quid will crop up in my change soon enough.
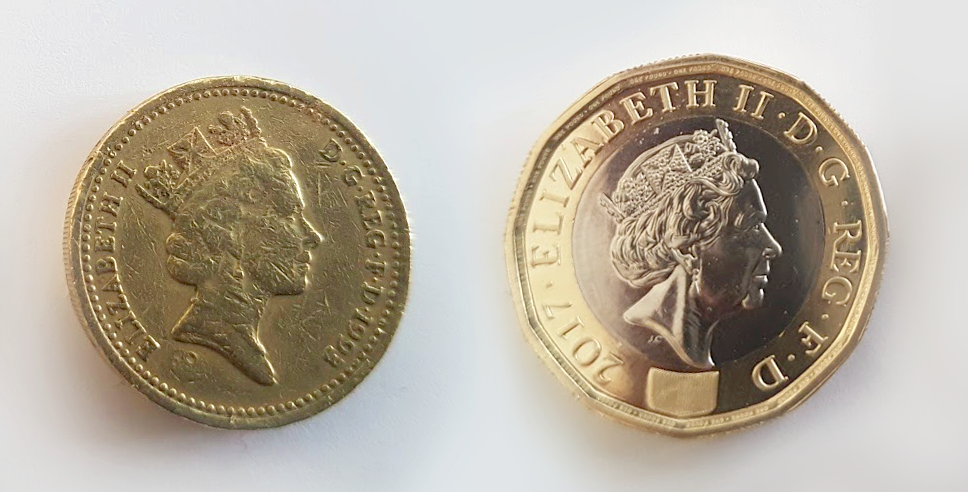
Anyway, money. At work, we have competitions and offers. Some of them have cash prizes, so I had to draw us some coins. The best way, I decided, was to do them in Illustrator with the 3D effect – this let me draw it once, then copy and paste, repeating, resizing and rotating the graphic to add variety.

I’m going to briefly go over how to make a 3D coin in Adobe Illustrator, then talk about the new Pound Coin graphics I created last month.
Creating a 3D coin
First things first, you’ll need to make three graphics – the face, the reverse, and the side.
You can use strokes, fills, gradients, and text on a line, but you can’t use linked images.
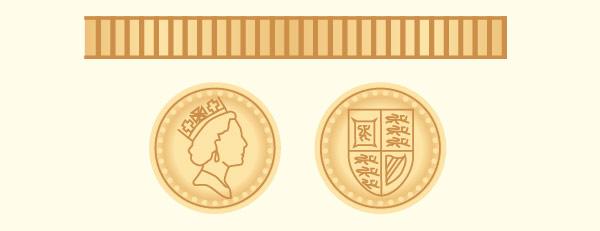
Select all your lines and shapes (ie. all your ‘face side’ components) and drag them into the Symbols panel – this creates a shape that can be used repeatedly – kind of a reference. It just puts an instance down. Change that Symbol, and your changes are applied to every use of it in the Illustrator file.
Repeat for reverse and edge graphics.
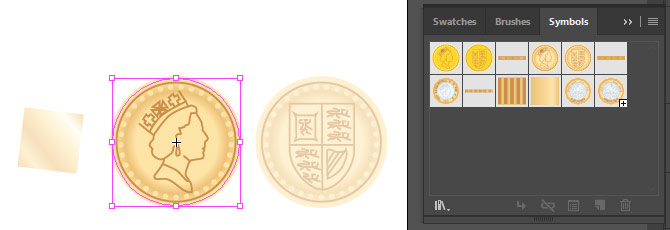
Illustrator has an effect called Rotate, but using this would just produce a one-sided, paper-thin disc. We want 3D Extrude and Bevel.
Select your face Symbol (don’t double-click to go into it) on your artboard, and go to Effect > 3D > Extrude & Bevel…
This give you the below window, with a whole gamut of options – the majority of which you can ignore here.
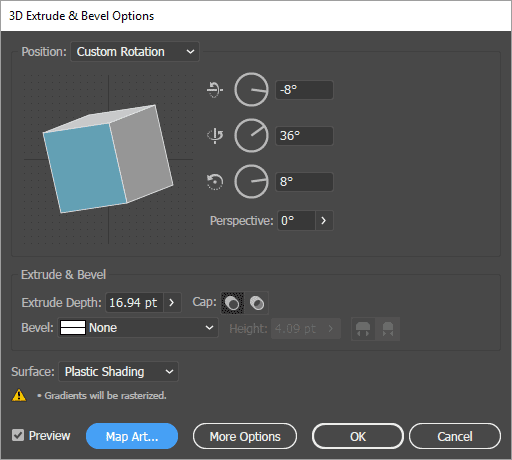
The three circles and their values are where you rotate the shape on an axis (blue is the front) – copying and pasting the finished graphic, then changing these effect values on each copy, is how you get some variety.
You’ll have to judge the Extrude Depth (thickness) by eye – In this example I compared to a real-life coin, but for the 2017 coin I worked from reference photos.
Now for the clever bit… you can apply textures to each side. Like in a proper 3D program. Neat! This is under the Map Art… option. Every face (the front, the reverse and the edge) can have a different Symbol applied to it… and we’ve already made the symbols.
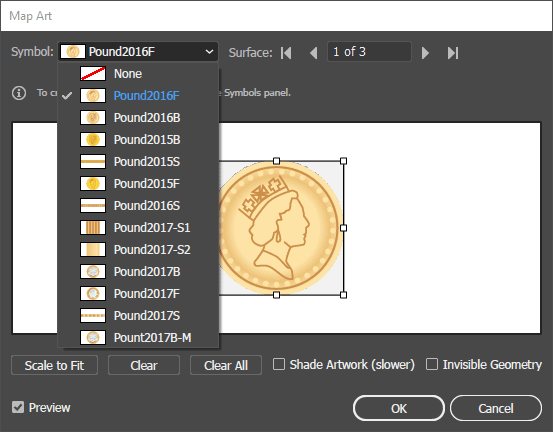
The Scale to Fit button can come in real handy here, eg. if your edge Symbol is the wrong shape.
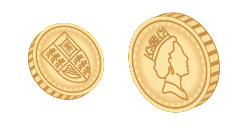
And there you have it – one reusable, versatile coin!
Creating the 2017 Pound Coin
I’m grateful that the new Pound Coin website has large, clear photos that I could use as templates. I traced approximations of The Queen and the national flowers.
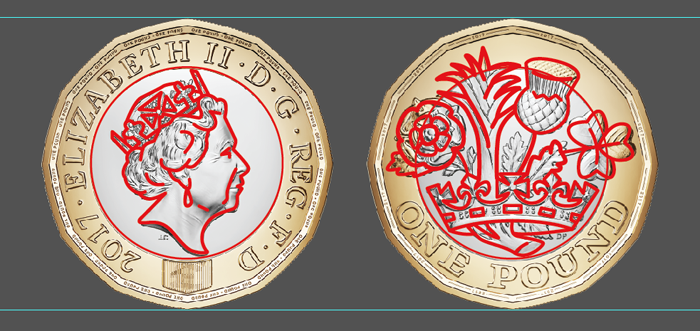
The most immediate change to the coin is that it’s now got 12 sides instead of one circular edge. The sides also alternate between smooth and reeded (grooved). Now they count as seperate faces in the 3D texture mapper, I simply made 2 “texture” symbols and made sure to apply them in the right order.

The reverse took some thought. How to recreate the insignia that overlaps two different metals? Setting the strokes to Multiply, Screen etc. didn’t have the desired effect…
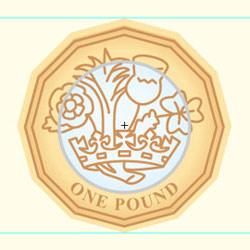
…So I split the pattern in two.
The dark grey ring between the two colours hides the join: I adjusted the vectors so that the points lined up to that ring, then copied the pattern. Deleted the inner lines in one, and coloured it dark gold – deleted the outer lines on the other, and coloured the lines dark grey. Then lined them back up (Snap To Points is an essential feature).
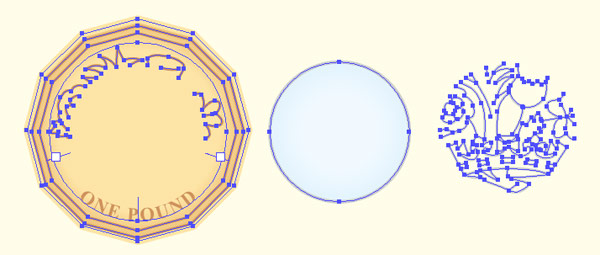
I could have left the entire gold pattern hidden underneath the silver ring, but I wanted to save on complications and filesize.
Finally, I found out that the Symbol for the reverse needs to be mirrored!
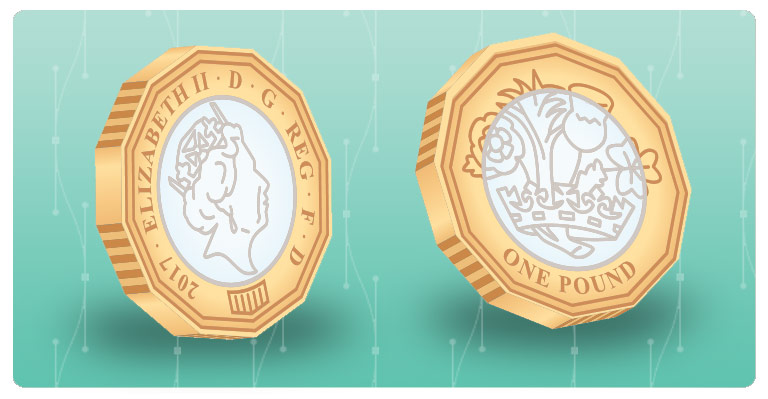
Man, these things are gonna be hard to counterfeit. Hopefully.
At one point a colleague asked how much detail we’re legally allowed to put into a graphic such as this. I think that any forger would have more intricate references to work from… the ones I used for a start!
