
I just got back from a trip to South Africa! Yeah, it was pretty great! Especially sweetened by the UK having terrible cold and snow while I was in the sun…
However, this isn’t a travelog blog, so instead of tales about safaris and speedboats, you get to read about the suitcase I took with me(!)
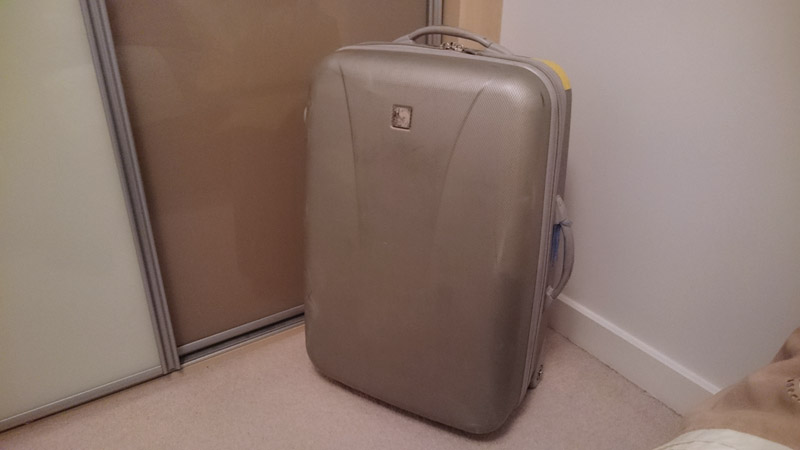
This grey fella is the Tripp suitcase that my parents take on holidays. I borrow it from them for my own hols, seeing as I go away way less than they do. It’s utterly indistinct, so to identify it as ours we apply stickers to it, tie coloured fabric around the handles, that sort of thing.
A few weeks before the big trip, Mum brought the tired-looking thing over to my place, saying that I could tart it up a bit.
I chose a Springbok for my design. It’s South Africa’s national animal, the symbol of their national Rugby Union team, and the symbol of the Friendships Association: They helped us visit my expat family over many years. I’d layer it over a green background, like below.
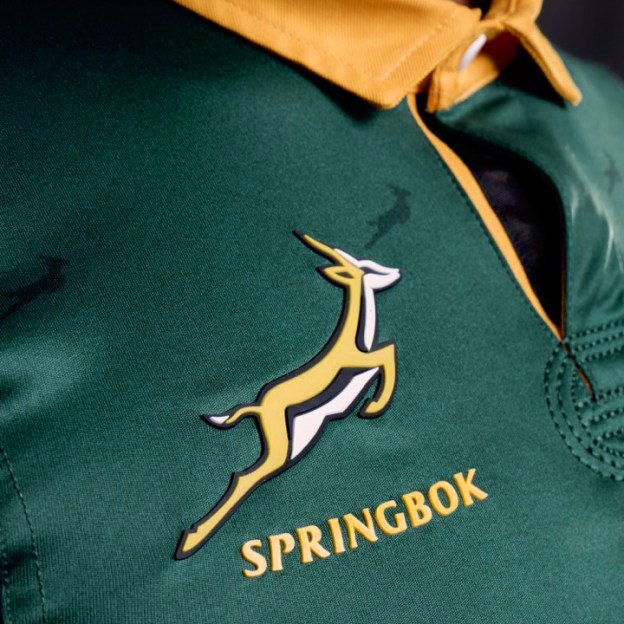
The artwork is a vector downloaded from Brands of the World (a decent company logo resource). I blew it up to A3 size in Illustrator, trimmed off the wording and Protea (South Africa’s national flower), then split the colours into separate layers.
The original idea was to use spray paint. However, the internet is not forthcoming on how to paint a hard body plastic suitcase. The best thing I found was this guide to spray-painting garden chairs, which recommended Rust-Oleum Painter’s Touch satin spray paint. Pretty hard to come by in a Satin finish, not to mention expensive, and it would take 2-3 coats per colour.

Yes, per colour… the above would require buying 5 colours, then making and perfectly aligning 5 templates. Ain’t nobody got time for that – especially me, with the trip scant weeks away.
For this trip at least, I decided on using vinyl stickers for the Springbok design, and Duck tape for the green backing: Robust, and much quicker and easier to work with.

Here’s the design after adding some per-shape shading (using glow effects). I also changed the background to a green ‘Y’ shape, incorporating part of the South African flag. Finally, I added a die-cut template (a Pantone red outline, set to Overprint in the Attributes menu). I placed an order with Colour Graphics (a contact I have from work) to print a few copies as Self Adhesive Vinyl Stickers.
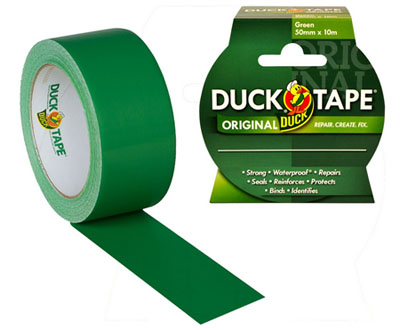
While waiting for the stickers to be produced, I set off to find the Duck tape. While Lime Green was readily available, it actually proved tricky to find the ‘gardening green’ colour in stock, and when it was, there was a dearth of home delivery options. I had to hop onto public transport to pick up a couple of rolls from an out-of-town Homebase.
I put a stripe across the horizontal centre of the case, on both sides. For the diagonals, I made a paper template to line up the tape.
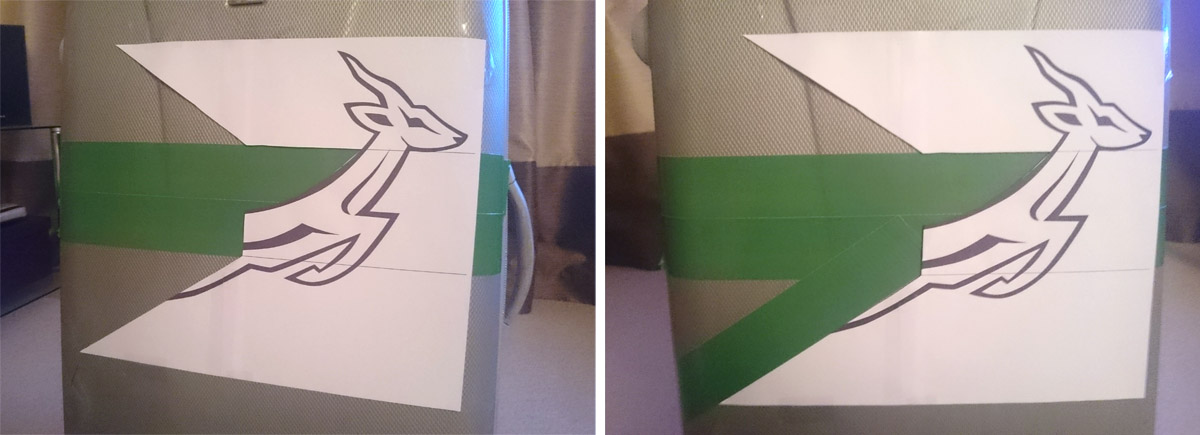
One advantage of Duck tape here: The tape held its positions, yet it could be pulled gently off the case at one end for repositioning, or moving one strip underneath another.
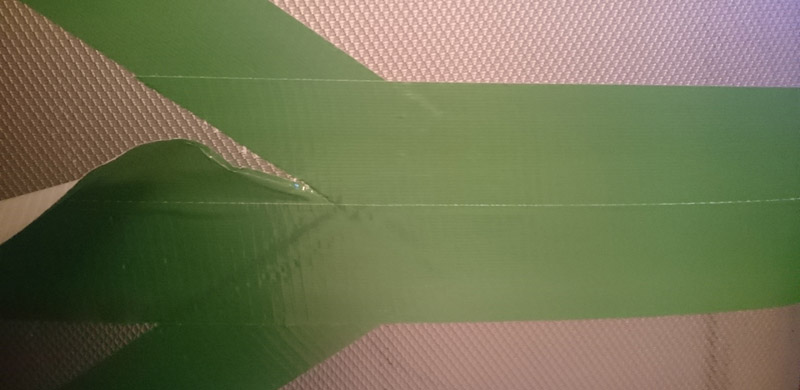
 Once a piece was in its final position, I used a craft knife to cut the excess away: Helpfully, you can see ‘ridges’ where layers overlap.

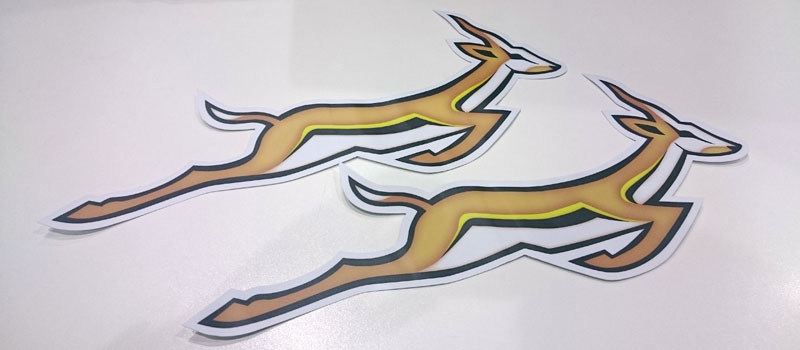
While the stickers themselves were surprisingly affordable, the minimum delivery charge was £7.50. At least they arrived in good nick, promptly, securely wrapped… and looking like curly fries. They needed to be pressed / flattened for a couple of days before application.

So, the Springboks were carefully aligned, using the paper template I showed you earlier.
The case has a ridged pattern to its surface, so all additions needed pressing down. The nearest thing I could find to do this was a washing-up scrubber.

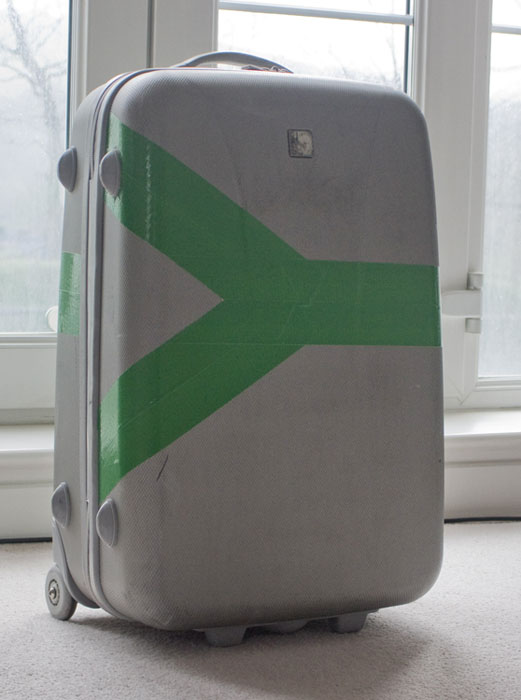
Here’s the results of my labour.
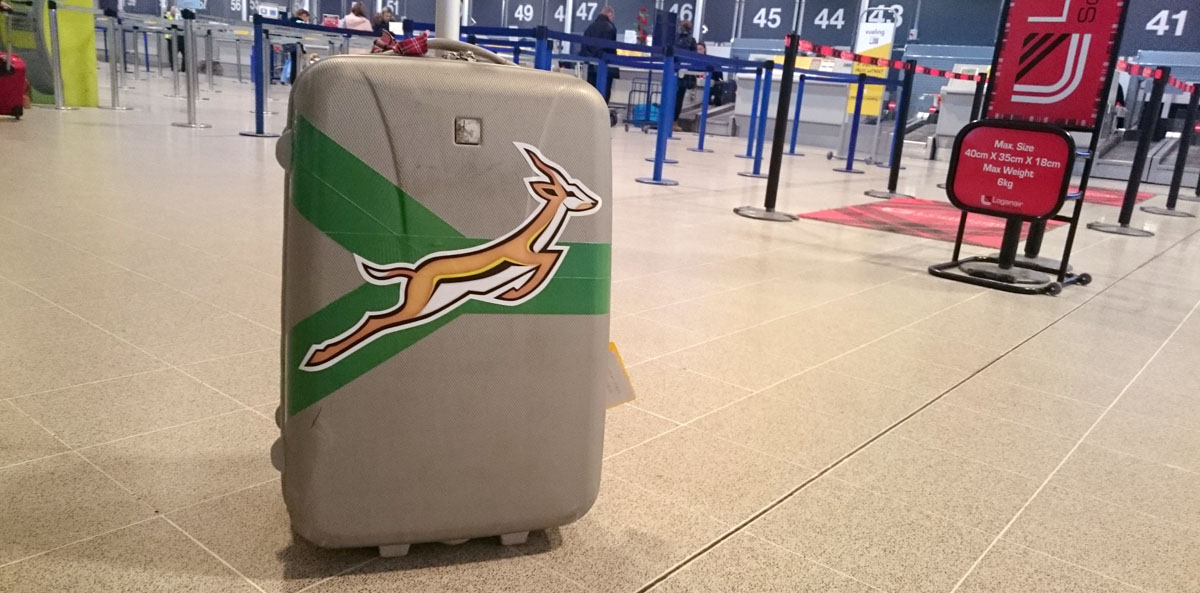
I took the above photo before the trip, because I had no idea what three airports over 8,500 miles would do to the design. I was pretty confident that the duct tape would survive, because there was a strip already stuck to the case when I received it. The stickers though? They’re vinyl instead of paper (so obviously more hard-wearing, and a little waterproof), but I could see them peeling away from corners (like the horn and the tail) pretty easily.
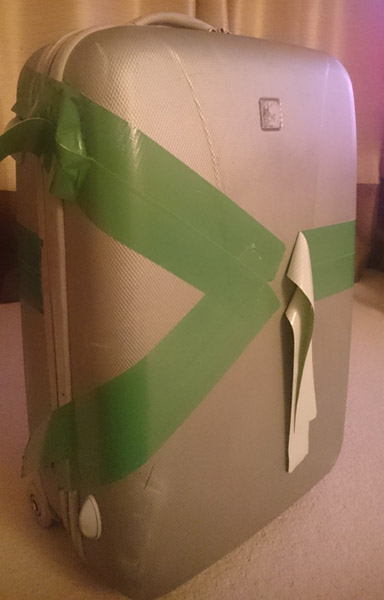
What follow is a photo of how the suitcase looked when it arrived at George Airport.
Drumroll please…
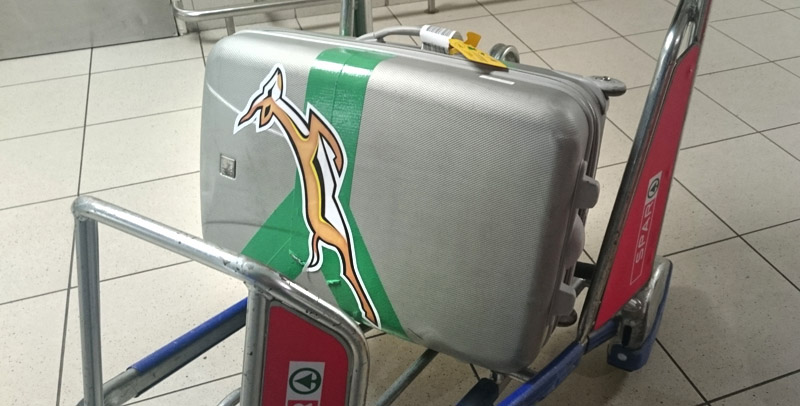
…pretty good! Just some minor damage on the left-hand side, and peeling from the tail, as expected. Surprisingly, the corners of the tape were coming away too: I cut the spoiled parts off, noting that I should have layered the tape differently.
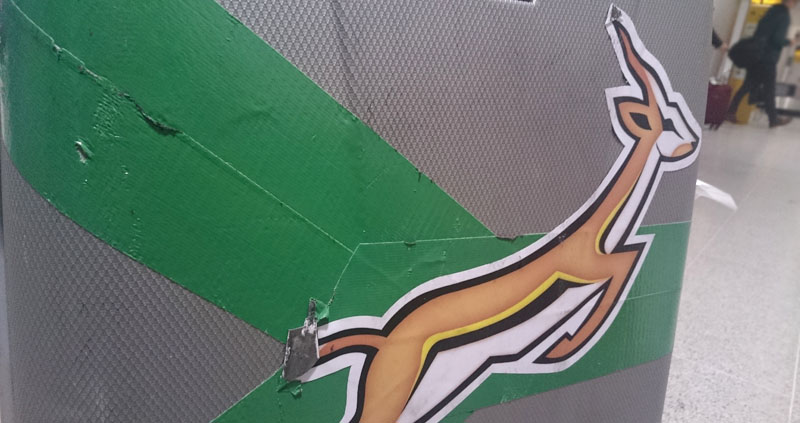
Below is a couple of weeks later, back in Manchester, when the case had another 3 flights and 8,500 miles on the clock. Again, the tail has ridden up, as has the horn. There’s also been a small shark attack to the lower portion of tape.
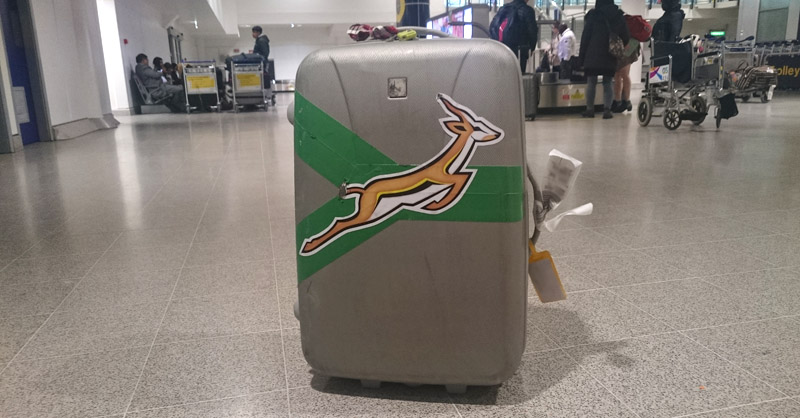

Overall though, a success! Neaten up the joins in the duct tape, glue down the narrow points of the vinyl stickers, and it should work near perfectly on that next international jaunt!
Which reminds me, where was I going to go next…